Yes, you read that correctly…I painted my kitchen table! It’s something I’ve been thinking about doing for a while, but I’ve been hesitant. Because once you paint something, there’s no going back…
First, let me give you a bit of history on this table. We’ve had this table since we were first married. It was our kitchen table in our first apartment over 25 years ago. Then, it served as our dining room table in our first house…I think we sat at it once a year, as we never used our dining room. Seven years later, it came along with us to our second home and it fit perfectly in our tiny dining room there. At this point, we entertained more and used it more frequently…lots of birthday celebrations and dinner parties happened around this table. Once we moved to our current house, we had space for a larger dining room table and this vintage pedestal table found a spot in our living room. My girls did their homework, ate pizza with their friends on Friday nights, and played games on it. I think it was actually used more when it was no longer considered a “dining table.”
When Audrey left for college a year and a half ago, our kitchen table (which seats six) felt very empty during dinner time. I convinced my husband to swap out the tables, so this table once again resides in our kitchen.
As I mentioned earlier, I had been thinking of painting it for a while. It definitely needed some repairs and a refresh, and I thought it would “pop” more against our wood floors if it were a different color. I know some people are against painting natural wood, but I like the look of it and decided to give it a go!
Today, I’ll share with you the easy DIY to painting this table…

We started by patching and repairing the cracks and scratches with wood filler. Once that was dry and hardened, we used a sanding wedge to sand and smooth out the top surface. Once it was smooth, I wiped it down to make sure there wasn’t any dust or debris still on the table.
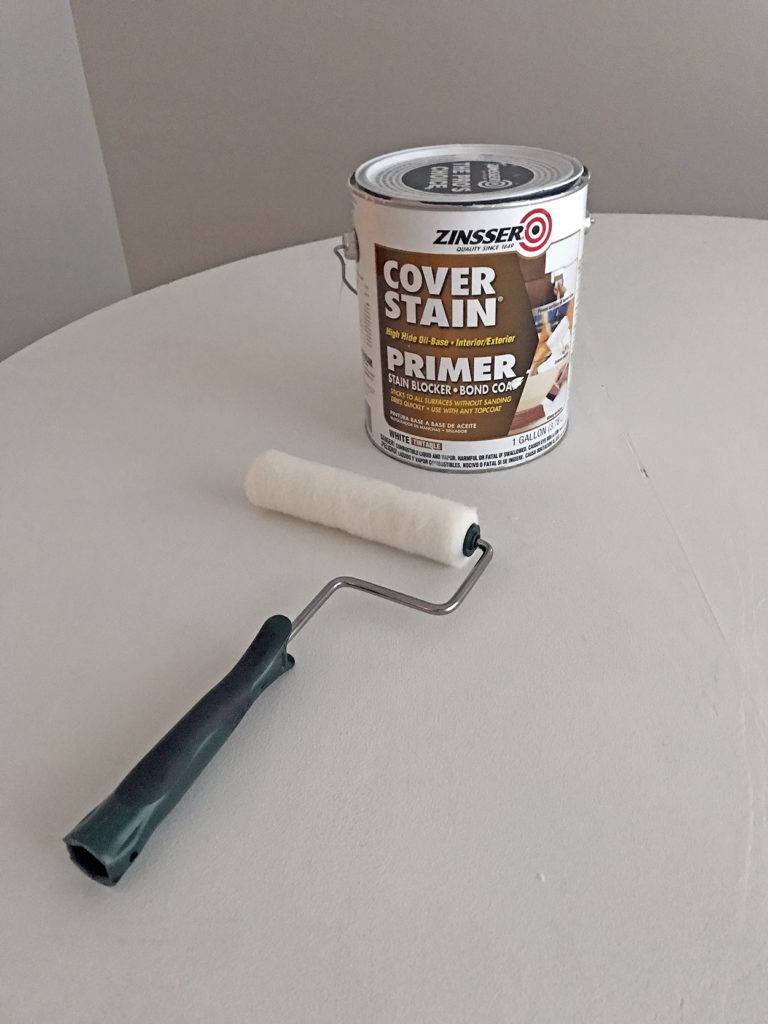
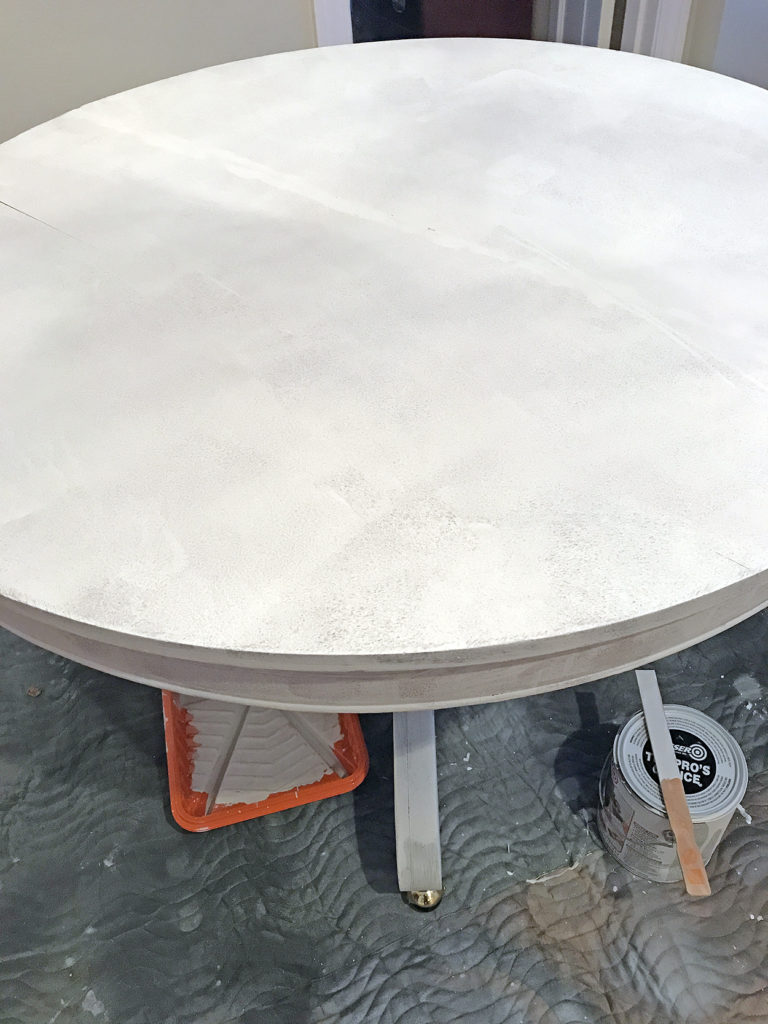
Then it was time to prime the table. A friend of mine recommended the Zinsser brand primer for ANOTHER PROJECT we did about a year ago, and I swear by it now. I used a roller to apply the primer to the top of the table. It was a bit difficult to use the roller on the curved areas of the pedestal and legs, but I did where I could and used a brush for the rest.
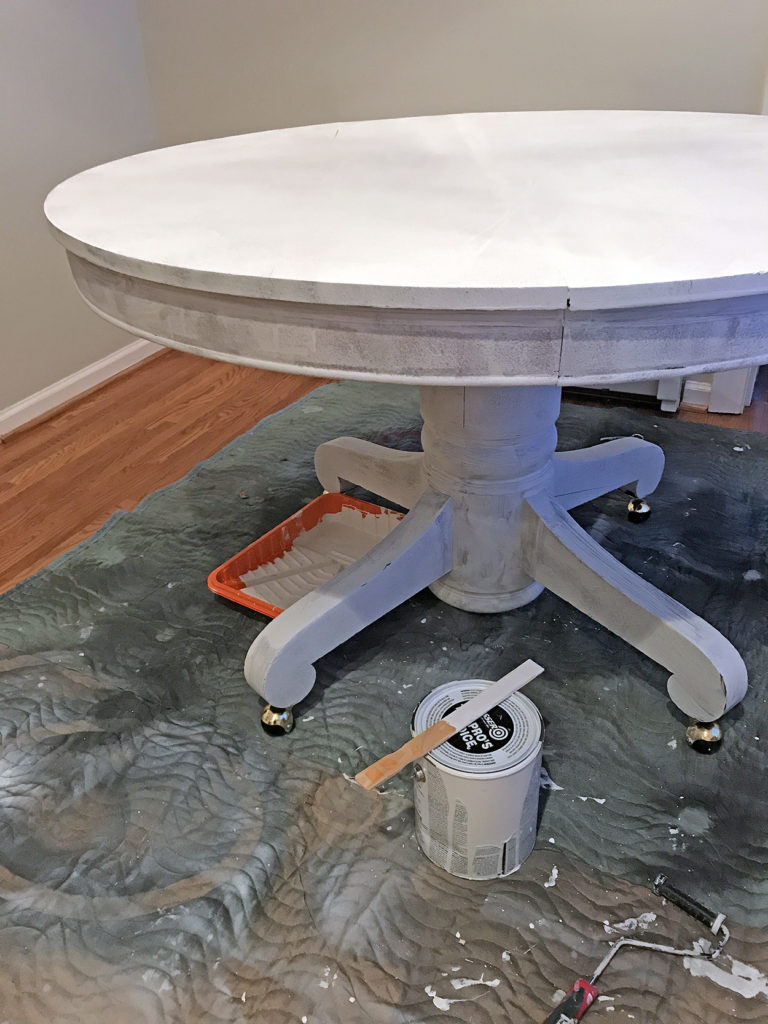
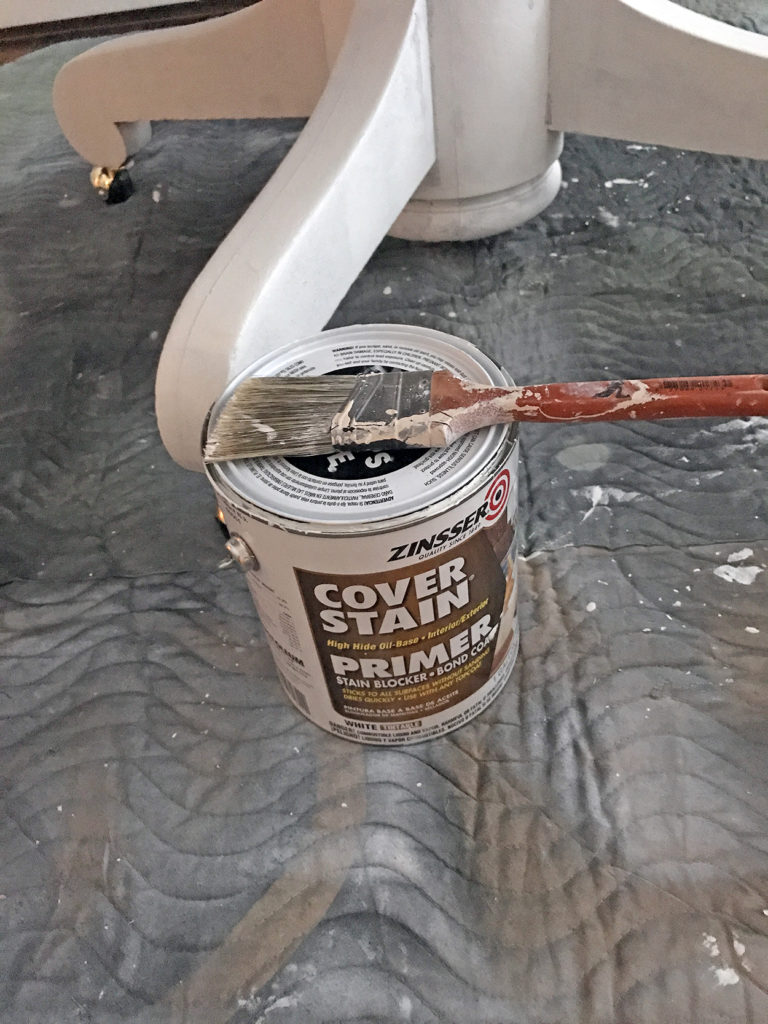
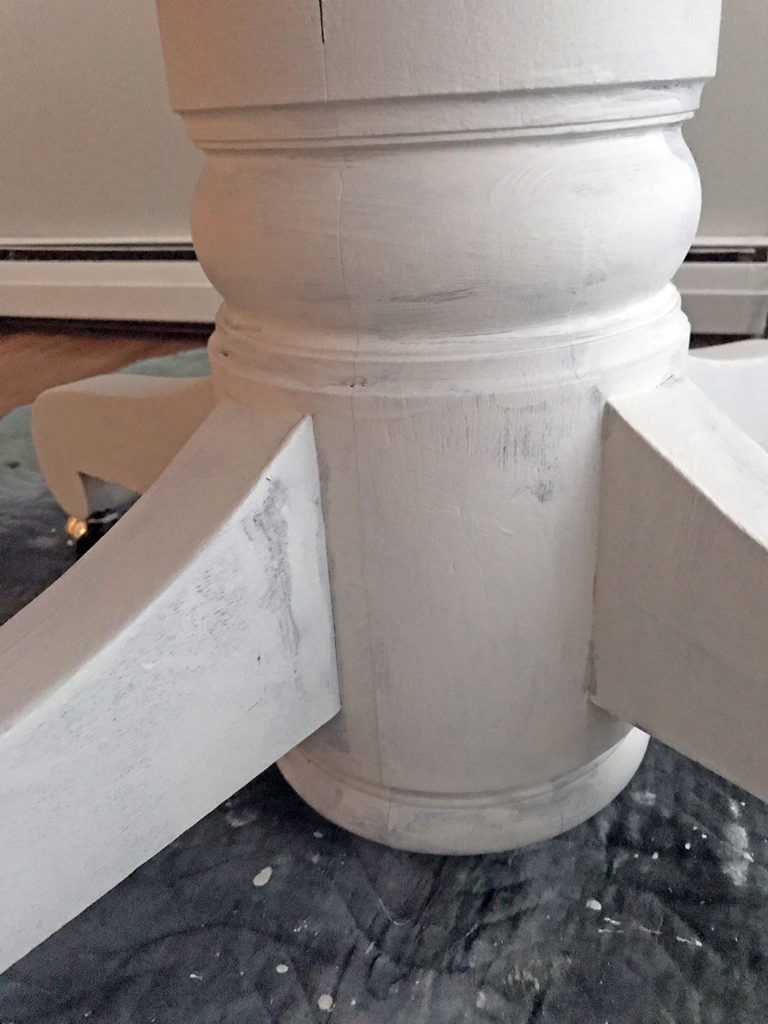
I allowed the primer to dry for a full day, and then I started painting the table. I choose a matte black paint for the finish. I applied the paint in much the same way as I did the primer…rolling as much as I could, and then brushing on the rest.
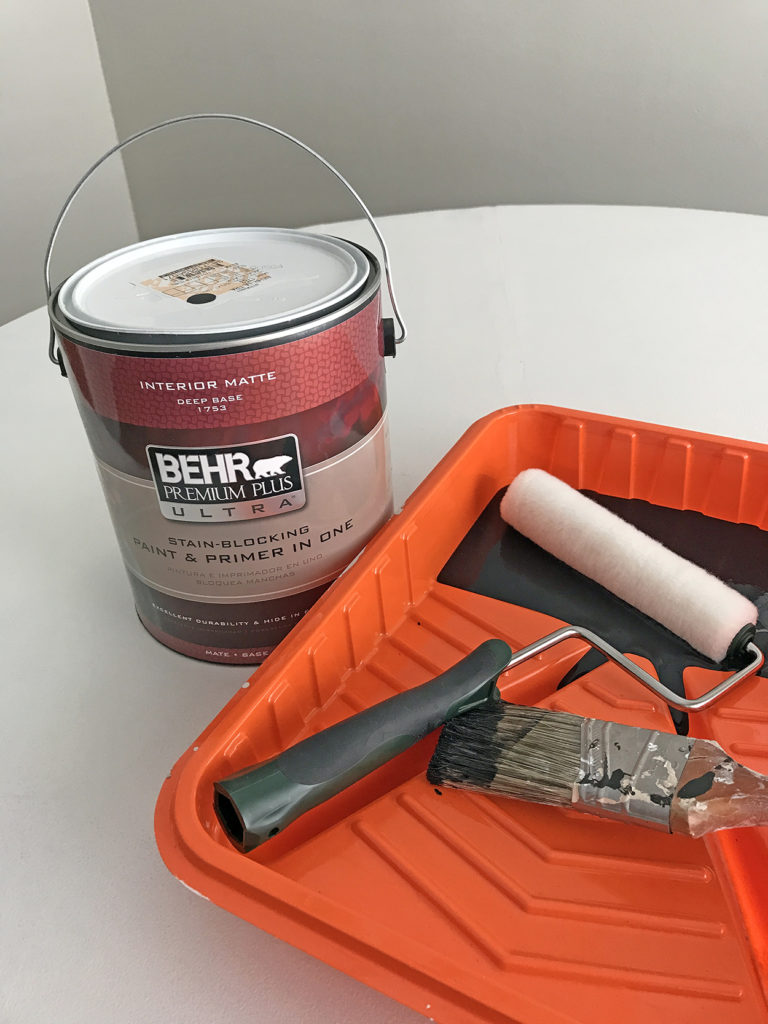
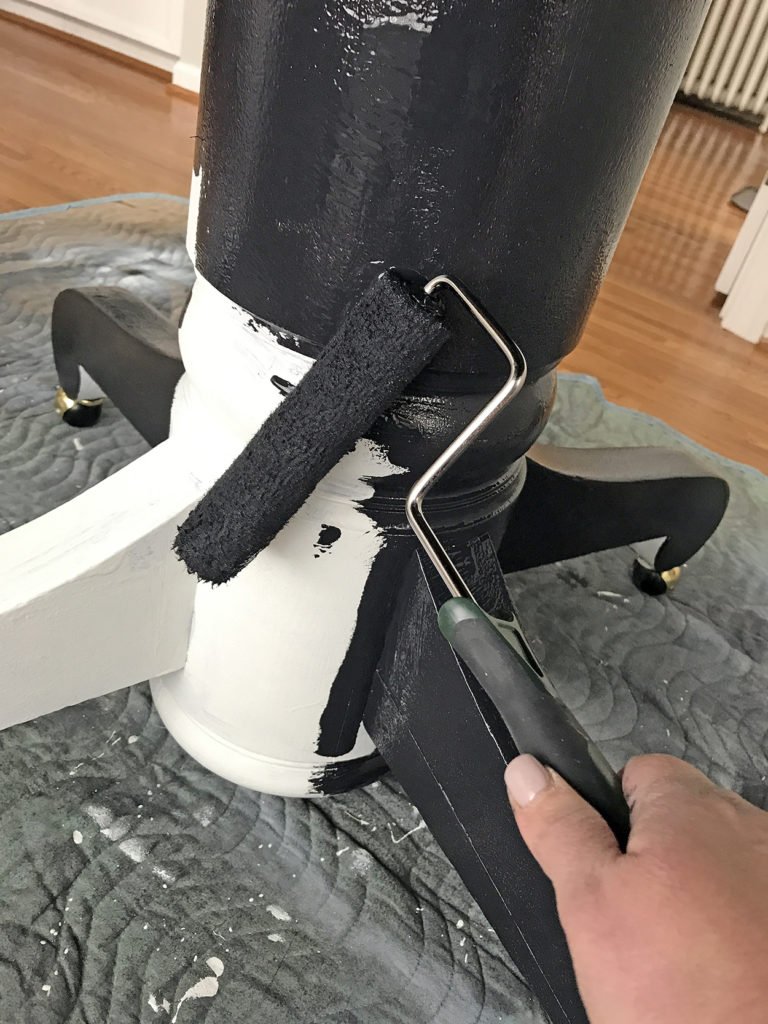
Now this process took a while. I applied three coats of the black paint, allowing it to dry for a full day between coats. Because we use this table everyday, I wanted to have extra coverage and make sure it was fully cured before applying another coat of the paint. I did NOT want to see chipped paint after the first week of eating meals at the table!
Once the final coat was applied, I let the paint cure for three days before sealing it. We used Minwax…applying a small amount and rubbing it in circles with a cotton cloth. We allowed it to dry for an hour or so and then buffed it to a shine. Then we repeated it two more times. I started to think of the movie Karate Kid…you know, “wax on, wax off.” When we were finally finished with the waxing, we let it cure another few more days before using it.
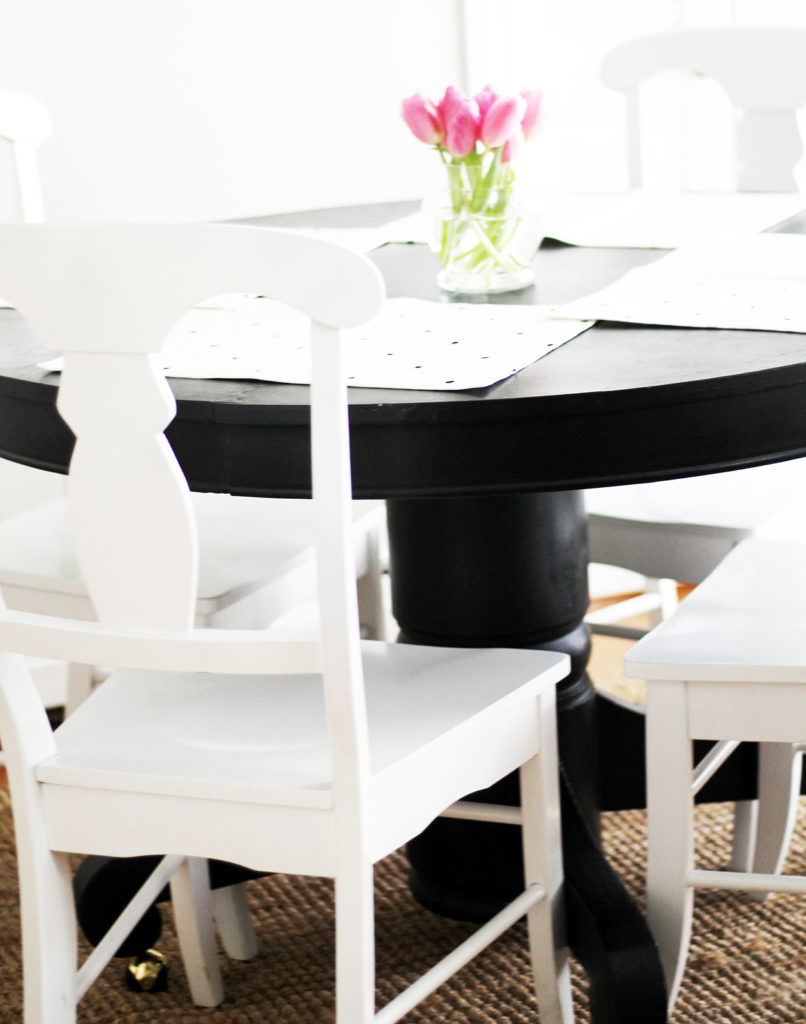
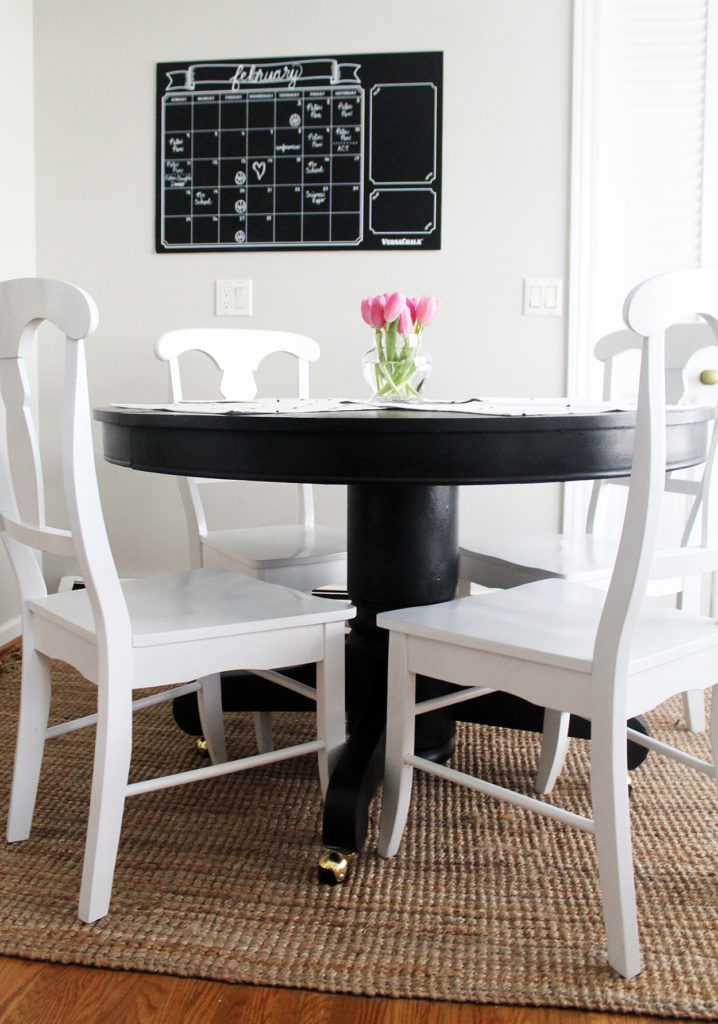
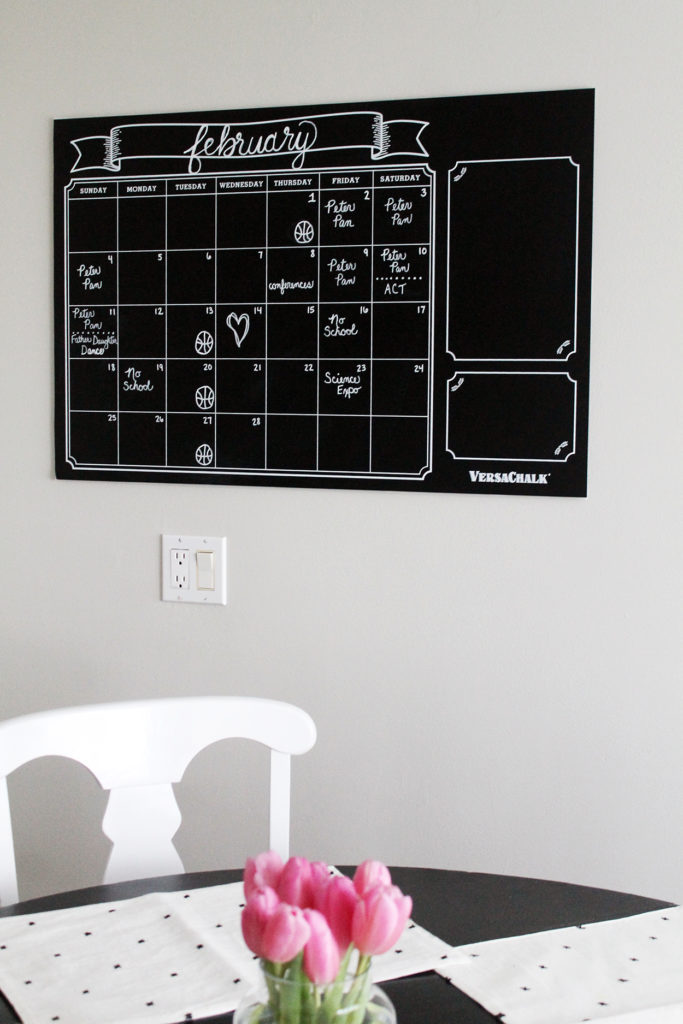
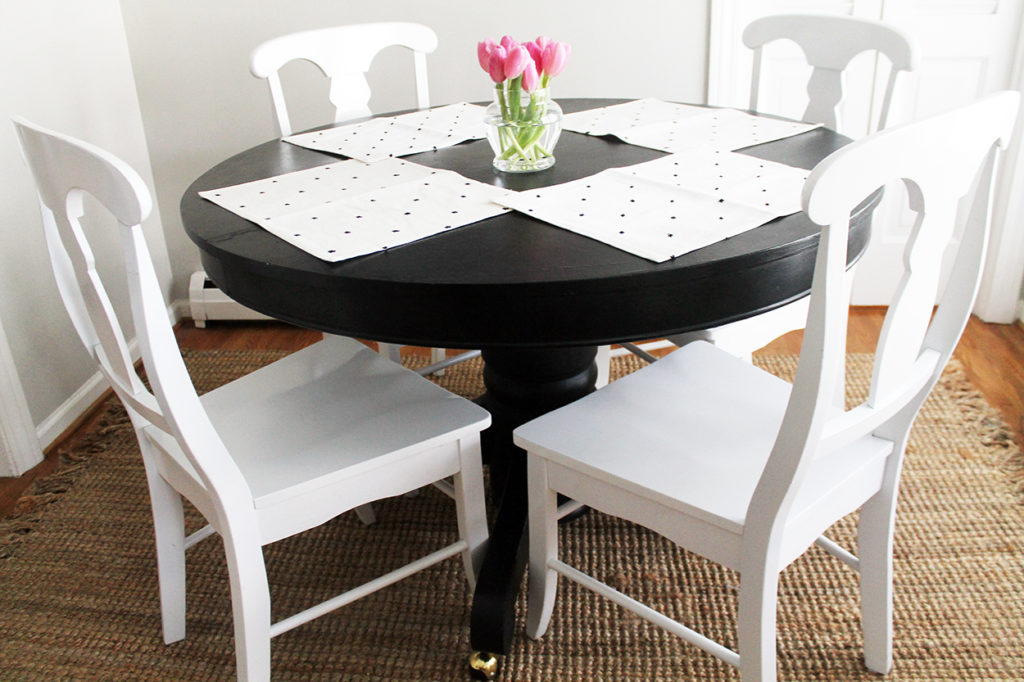
And so we are now using it and I’m loving it!
It feels like a brand new room because as I was painting the table, I was also painting the walls a different color. They went from a dark chocolate brown to a very pale gray. While I liked the brown against my white cabinets, I just wanted something a bit lighter. I chose Toasty Gray by Behr, and I really like how bright it makes the room.
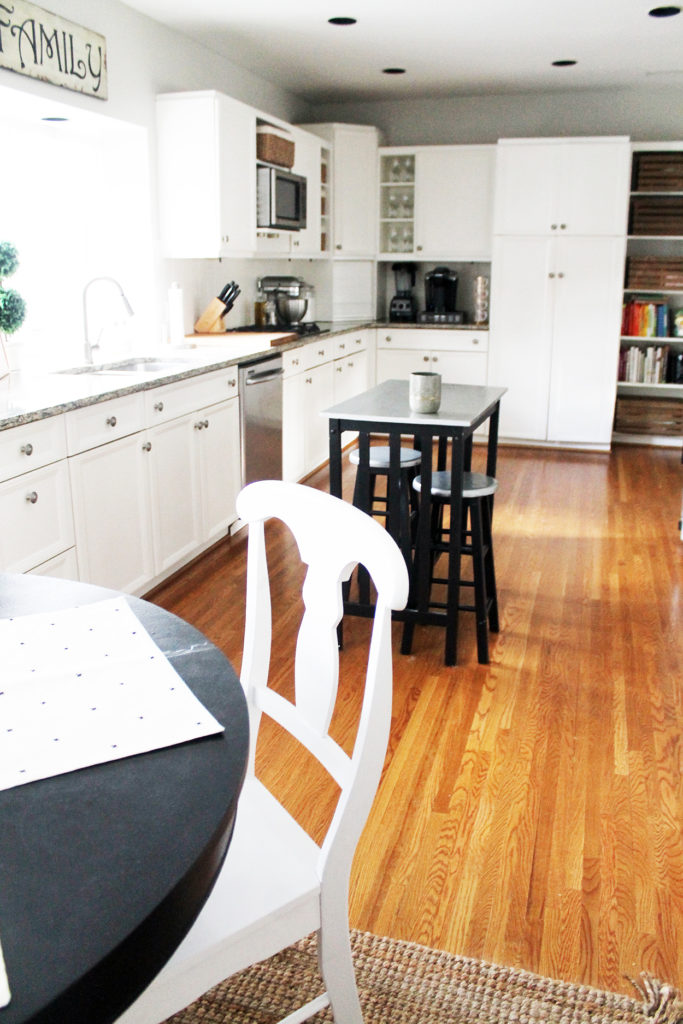
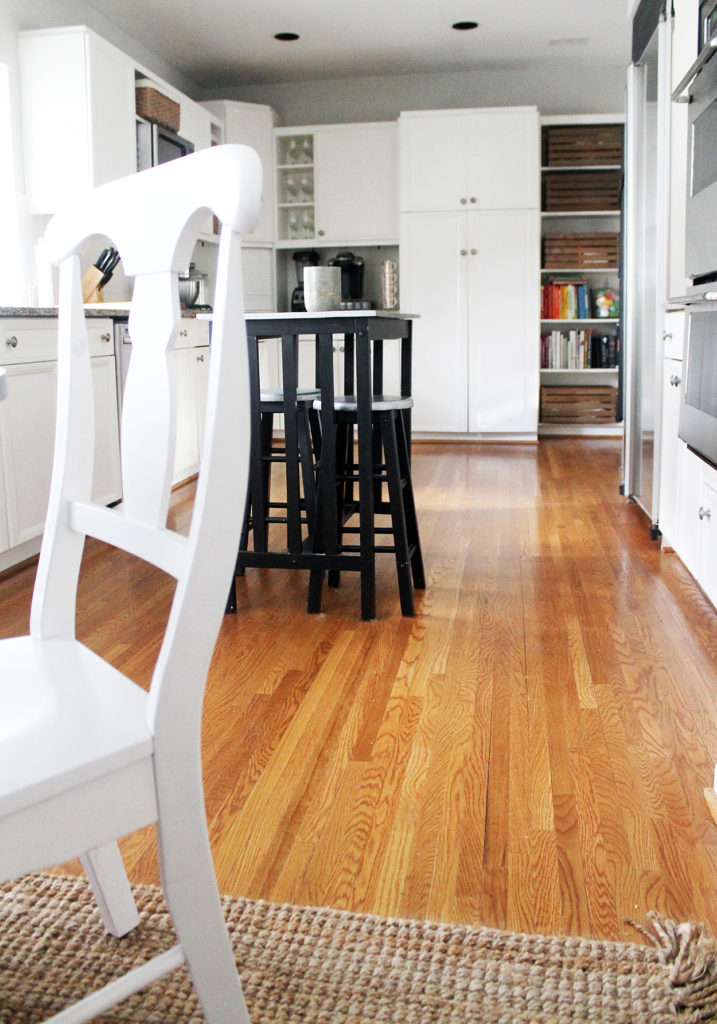
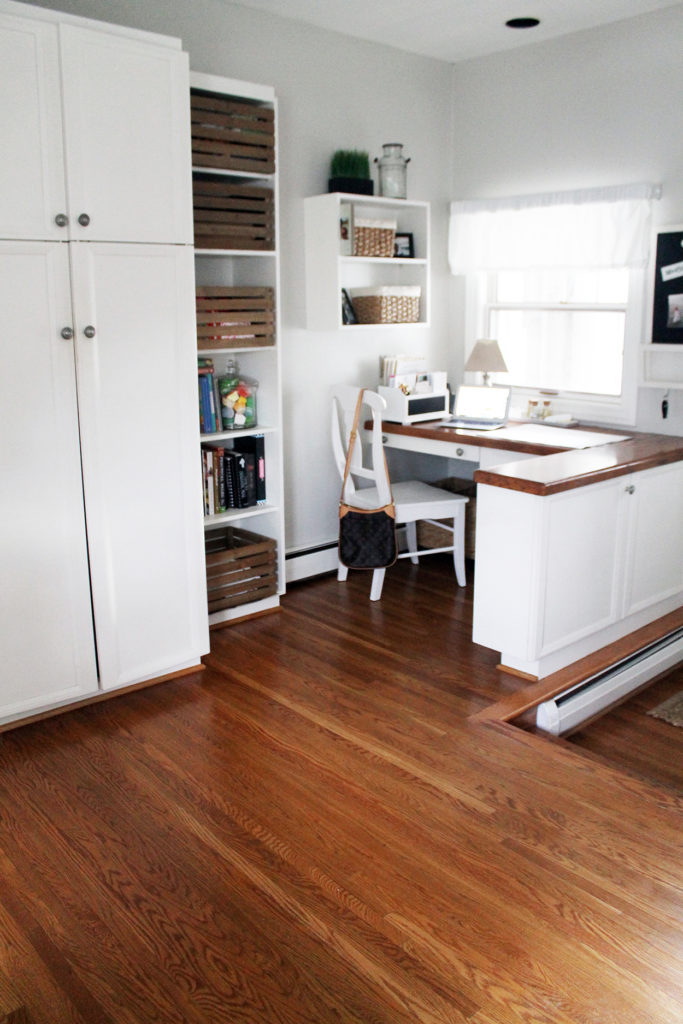

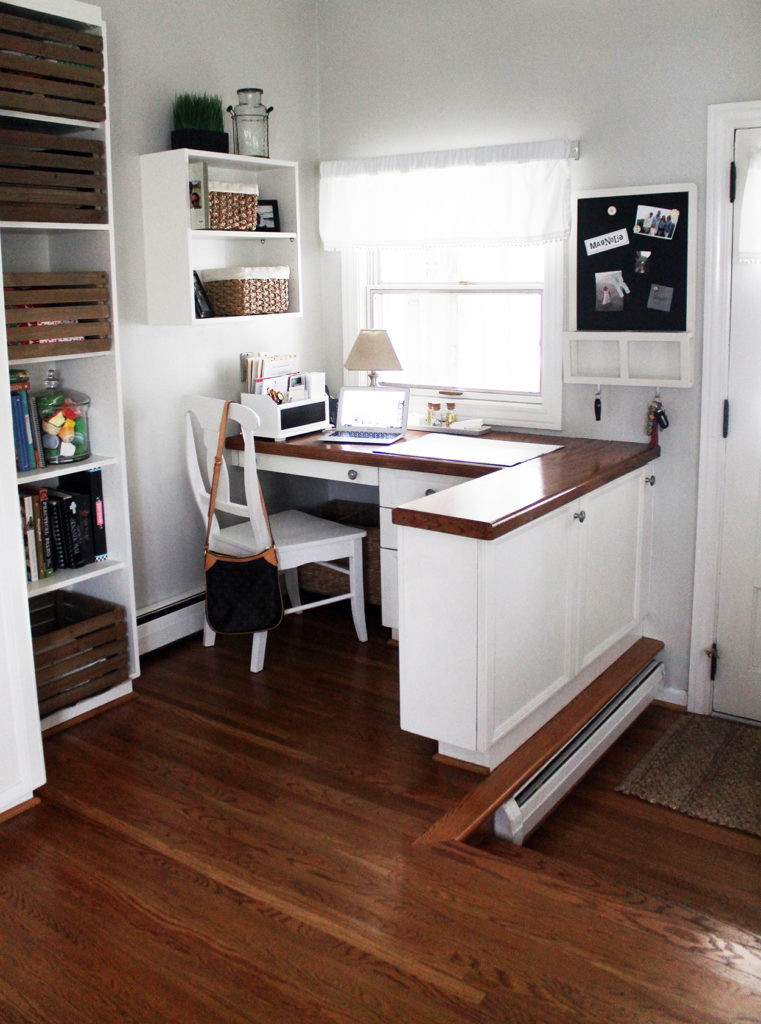
It’s so amazing what paint can do to update a room, whether it is a piece of furniture or the walls!

It looks really pretty. Thanks for sharing.
Thanks, Vanessa! It feels like a new room…
Looks amazing Beth! You are so talented. Every project you take on turns out looking fabulous. Love reading your blog! Thanks for sharing your wonderful ideas.
Thank you so much for your kind words, Kathy! Although, I must admit I have just as many “oops…what did I do moments” as I do successful projects…
Very nice! I’m considering it for my dining room table!
Thank you! We love it, too!